eng
eng English
 русский
 Deutsch
 عربى
عربى
+86 189 6101 2359
+86 133 6521 5663
+86 138 5268 6835
A cotter pin is one of the cheapest parts in any assembly and one of the easiest to fit badly. We have been manufacturing stainless steel fasteners since 2003, and when customers send us failed joints to examine, the pin is often the last thing anyone checked and the first thing that let go. The good news is that putting in a cotter pin properly takes about thirty seconds once you understand what the pin is actually doing. This guide walks through the whole job: what the pin does in a joint, how to insert and bend it, which way the legs should point, and the small habits that turn a locking pin into a loose piece of wire.
Content
A cotter pin, called a split pin in many national standards, is a length of half-round wire folded into a U shape. The closed loop, or eye, sits on one side of the joint, while the two tines pass through a cross-drilled hole in a bolt, clevis pin, or shaft. Once the tines emerge on the far side, they are bent back so the pin can no longer travel out of the hole.
That is the whole principle: a cotter pin is a positive mechanical lock, not a clamping fastener. It does not depend on torque, thread friction, or preload to do its job. Even if the nut or pin it holds backs off by a fraction of a turn, the bent legs physically block any further movement. This is why cotter pins still appear on wheel bearings, steering linkages, clevis and shackle pins, trailer hitches, mower decks, and rigging hardware, long after thread-locking adhesives and nylon-insert nuts became common.
Material choice matters more than most people expect. In wash-down areas, coastal air, or chemical environments, a plain steel pin can rust through in a single season. That is one reason 304 and 316 stainless steel pins are so widely specified for outdoor and process equipment, and why we keep our own production firmly focused on stainless grades.
A few minutes of preparation saves the frustration of fighting a pin that refuses to seat. Gather these items first:
Then run through a short checklist on the joint itself:
As a rule of thumb, the pin diameter should match the hole closely enough that the pin enters smoothly but has almost no side-to-side play. A pin that is too thin will rattle, wear the hole oval over time, and eventually shear. A pin that is too thick simply will not go in, and forcing it damages the plating and the hole edge.
With the joint prepared, the installation itself follows a predictable sequence. Work in this order and the pin will seat correctly the first time.
This is the question that fills forum threads and workshop arguments, usually with two photos labeled option one and option two. The short answer is that the legs should be split, not folded to the same side.
Bending both tines over the same edge of the hardware leaves the pin free to slide out in the opposite direction. Splitting them, one over the end of the bolt and one around the side of the nut or shaft, captures the pin in both directions and is the default method for automotive, agricultural, and general industrial work. In aerospace and other high-vibration applications, both legs are frequently curled tightly around the flats of the nut so no sharp tip is left exposed.
| Bending style | How it is done | What it gives you | Where it fits |
|---|---|---|---|
| Both legs to one side | Both tines folded over the same edge of the hardware | Fast to fit, but the pin can still slide out the other way | Light duty, protected indoor assemblies |
| Split legs | One leg over the end of the bolt, the other around the side | Captures the pin in both directions; the standard method | Automotive, agricultural, and general industrial joints |
| Wrapped legs | Both legs curled tightly around the flats of the nut or shaft | No protruding tips and the strongest resistance to vibration | Aerospace and other high-vibration work |
Almost every cotter pin failure we see traces back to one of a handful of habits. Watch for these:
Removal is the reverse of installation, with one important warning: do not try to unbend and pull the pin. Cut the bent legs off flush with side cutters, straighten whatever remains with pliers, and tap the pin out with a punch. Pulling a bent pin through the hole scratches the bore and can deform the hardware.
Always fit a new pin when you reassemble the joint. Keep a small stock of the common sizes you use so a routine service does not turn into a wait for parts. If a joint has to come apart often, a hairpin clip or R-clip offers tool-free removal and can be reused, though it holds with less authority than a properly bent split pin.
A cotter pin can only lock a joint that was designed to accept one. The bolt, stud, or pin it passes through needs a clean cross-drilled hole through the shank, and the hole has to sit in a plain, unthreaded section of the fastener so the pin is not cutting into thread roots. A half-thread bolt with a thick plain shank is the natural starting point for this kind of joint.
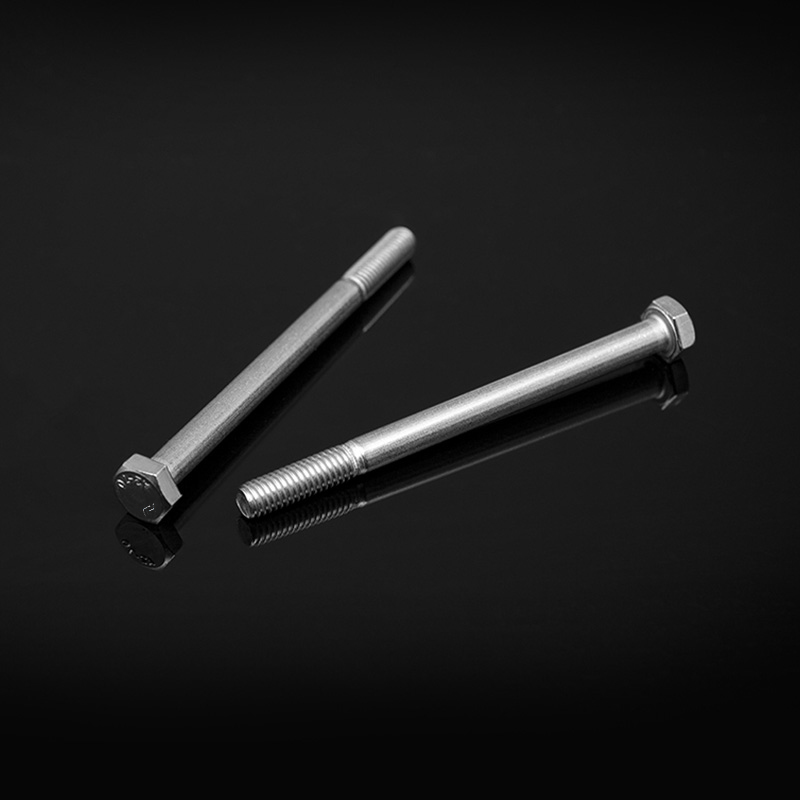 DIN931 Stainless Steel Hexagon Head Bolts, Partially ThreadedWhen a joint calls for a thick plain shank, these partially threaded stainless hex bolts offer a reinforced shank and quick tightening on rough surfaces.View Product →
The nut side deserves the same attention. A flat washer under the nut gives it a clean bearing surface, spreads the load across the bracket, and keeps the nut from galling into soft material as it is tightened. That is the quiet job our plain washers do in thousands of assemblies every day.
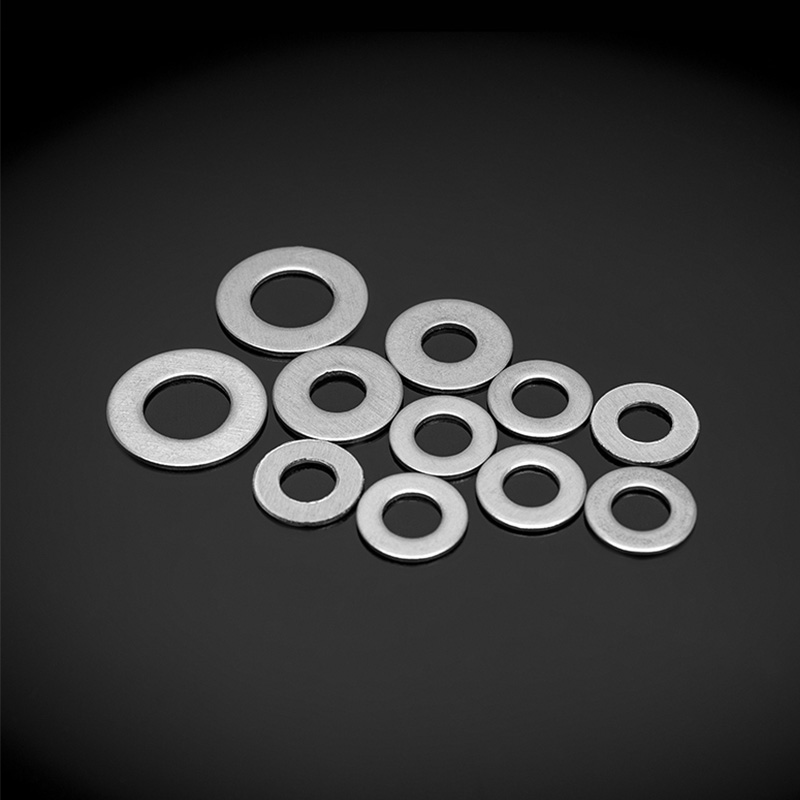 DIN 125 Stainless Steel Plain WashersThese flat stainless washers distribute nut load, protect soft surfaces from galling, and suit lower-load mechanical connections where a clean bearing surface is needed.View Product →
Sometimes a joint cannot be drilled, or a single pin feels like too little insurance against vibration. In those cases a prevailing torque lock nut with a non-metallic insert does the same job by friction rather than by mechanical blocking, and it can be removed and refitted many times.
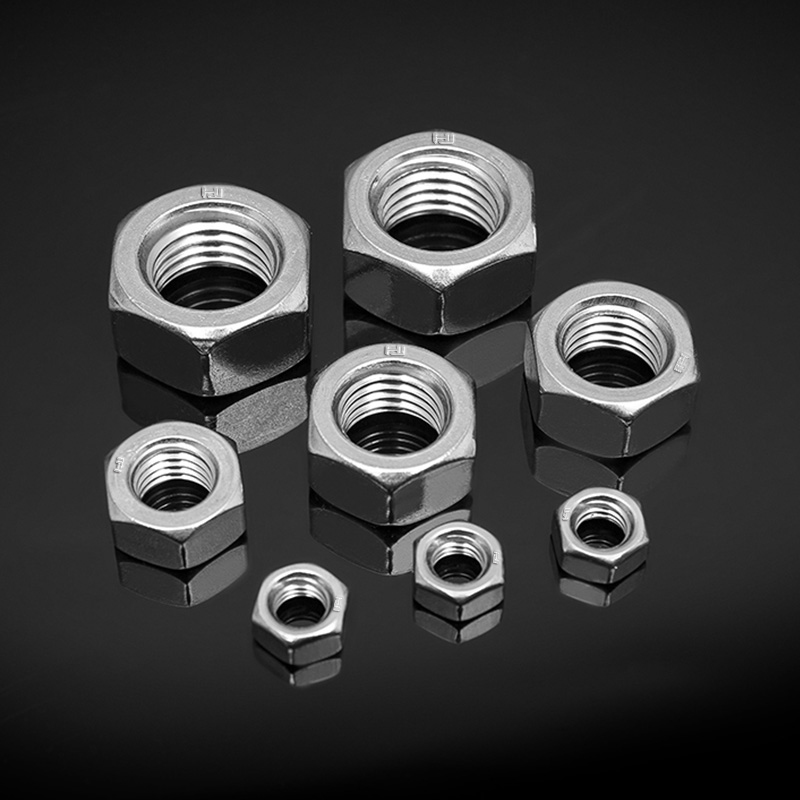
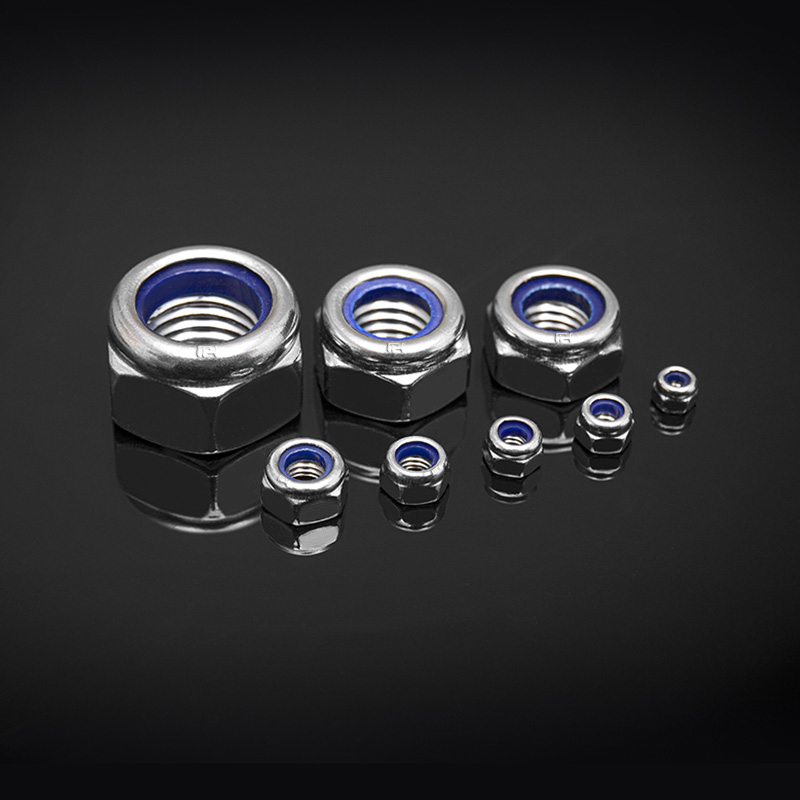 DIN 985 Stainless Steel Prevailing Torque Type Hexagon Thin Nuts With Nonmetallic InsertAppearance CharacteristicsView Product →
If vibration loosening is the underlying problem in your assembly, it is worth understanding how stainless steel lock nuts resist loosening under vibration before you decide between a pin and a locking nut.
Match the pin diameter to the hole so it slides in with light hand pressure and almost no wobble. For length, the pin should pass fully through the joint and still leave both legs long enough to curl around the hardware with a little to spare.
No. Once the legs have been bent, the wire at the bend has work-hardened and may crack if it is straightened and bent again. Cut it off and fit a new one.
A pair of pliers and side cutters will handle most installations. Add a small hammer and pin punch for removal, and safety glasses whenever you cut a tine.
Indoor, dry assemblies are usually fine with plain steel. Anywhere with moisture, salt, wash-down, or chemicals, stainless is the safer choice, and matching the pin grade to the surrounding fasteners avoids galvanic surprises.
Cotter pin installation is not complicated, but it is unforgiving of shortcuts. Align the hole, insert eye-first, split the legs, and fit a fresh pin every time the joint comes apart. Do those four things and the pin will outlast everything around it. If you are specifying the bolts, washers, and nuts that go with your pins, you can browse our stainless steel fastener range or send us the drawing and let our engineers match the standard, grade, and finish to your application.
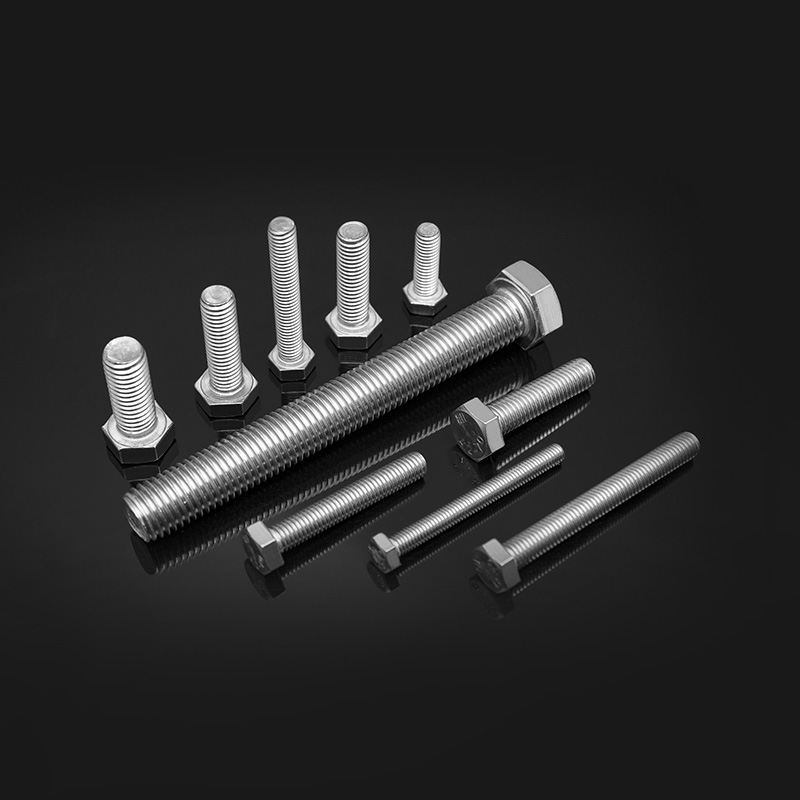
ThreadTolerance: 6gstandardDIN 13-15、DIN 13-12Rod diameter dd≤M20:A2-70、A4-70;M20<d≤M39:A2-50、A4-50;d≥M39:C3、C4;d<M39
See Details
Copyright © Jiangsu Huajie Stainless Steel Products Co., Ltd. All Rights Reserved.