eng
 English
 русский
 Deutsch
 عربى
+86 189 6101 2359
+86 133 6521 5663
+86 138 5268 6835
A cotter pin is one of those small parts that quietly does a big job. It can stop a wheel bearing nut, a clevis pin, or a linkage from working loose. In everyday workshop English, the name usually refers to the split pin: a headed pin with two tines that pass through a hole and are bent apart. Using one is not complicated, but the details matter. The pin must fit the hole, the tines must be bent with purpose, and the joint should be checked before the equipment goes back into service. If you remember one rule, make it this: a cotter pin is a locking device, not a load-bearing fastener.
Content
A cotter pin works by blocking withdrawal. The looped or headed end sits against one side of the assembly, while the two tines pass through a hole in a shaft, bolt, or castellated nut. Once the tines are separated, the pin cannot slide back out. That simple interference is enough to keep a nut from turning or a clevis pin from escaping.
You will see cotter pins on trailer hitches, wheel hubs, suspension linkages, agricultural implements, marine rigging, and many industrial pivot points. In a castellated nut assembly, the pin passes through a slot in the nut and a hole in the bolt. In a clevis pin assembly, it passes through the pin's cross-hole. The principle is the same: the pin fills the hole and its bent tines stop movement.
In North America, the split pin is commonly called a cotter pin. In older British usage, a cotter pin can mean a tapered pin used in a different kind of joint. For this guide, cotter pin means the two-tine split pin that most mechanics and maintenance teams encounter.
A cotter pin should be selected by diameter and length, not by guessing from a drawer of mixed parts. The diameter should match the hole closely enough to prevent wobble, and the length should be enough to pass through the assembly and leave clear tines for bending. Stainless steel cotter pins are a sensible choice for wet, coastal, or washdown environments, but the material should be compatible with the surrounding hardware.
If the hole is worn oval, a new pin will feel loose and may not lock properly. In that case, repair or replace the component rather than fitting a larger pin. A cotter pin is not designed to fill a damaged hole.
A common workshop habit is to bend both tines tightly against the same flat. That can work in some locations, but it may leave the pin less visible and harder to remove. A better default is one tine over the end and one tine down the side, so the pin is clearly locked and easy to inspect.
Removal is the reverse of installation, but it should be done with care. Straighten the tines with pliers, keep the head under control, and pull the pin out in line with the hole. Do not twist the pin out with side load, because that can damage the hole or leave a broken tine behind.
Reusing a cotter pin is one of the most common shortcuts in maintenance, and it is rarely worth the risk. A pin that has been bent and straightened may look fine, but the bend radius has already changed. Fit a new pin every time.
Use the table below as a practical starting point, not as a substitute for the equipment manufacturer's specification. The hole condition matters as much as the pin diameter.
| Cotter pin size | Hole fit | Typical use |
|---|---|---|
| 1/16 in (1.6 mm) | Snug sliding fit; no side-to-side play | Small linkages, throttle cables, light clevis pins |
| 3/32 in (2.4 mm) | Pin passes without force; tines open fully | General workshop, lawn equipment, small shafts |
| 1/8 in (3.2 mm) | Easy hand fit; check for oval wear | Trailer hitches, pivot pins, automotive linkages |
| 5/32 in (4.0 mm) | Firm fit; use the correct drill if reaming | Farm equipment, medium clevis pins |
| 3/16 in (4.8 mm) | Snug fit; inspect hole for elongation | Heavy linkages, industrial pins |
If a joint keeps losing cotter pins, treat that as a symptom, not a supply problem. Check for misalignment, excessive vibration, a worn hole, or a missing washer. The pin is doing its best; the assembly around it may be asking too much.
Cotter pins are often part of a larger stainless assembly. A castellated nut, a clevis pin, a flat washer, and a cotter pin may all be used in the same joint. The pin locks the nut, while the washer spreads clamping load and protects the mating surface. When the environment is wet or corrosive, using stainless components throughout helps avoid galvanic surprises and maintenance callbacks. Lock nuts and spring washers can help with vibration, but in a pinned joint the cotter pin is the positive lock. Our guide to how stainless steel lock nuts resist loosening under vibration is useful background when you are choosing the nut side of the assembly.
For the threaded side of a pinned assembly, our DIN 934 stainless steel hexagon nuts are a practical match for many general-purpose joints.
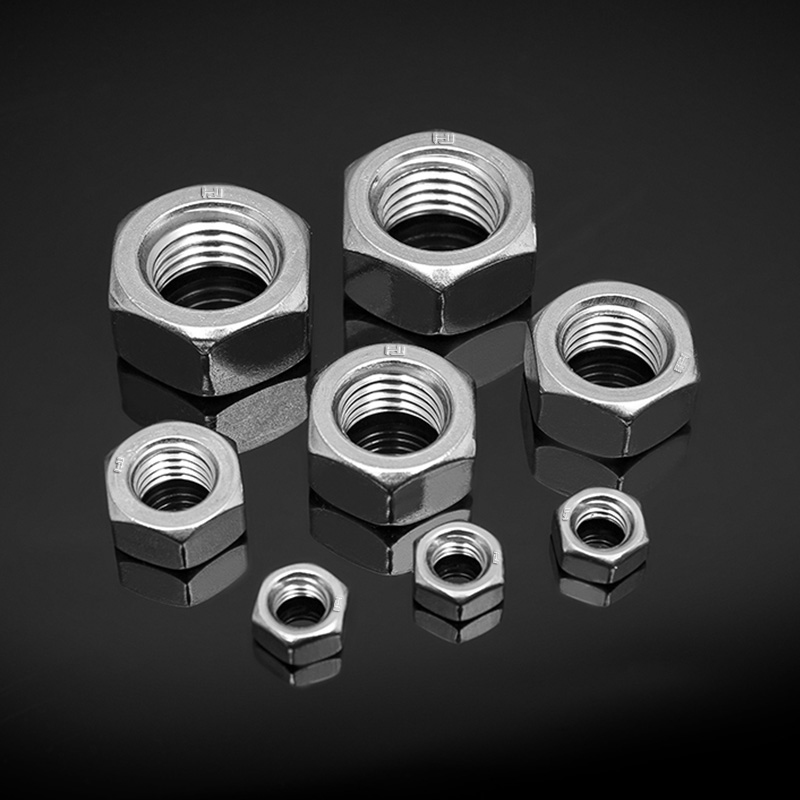 DIN 934 Stainless Steel Hexagon NutsStandard-profile stainless steel hex nuts for general-purpose joints, available in 304 or 316 and metric sizes from M1 to M160.View Product →
Under the nut, a plain washer can make a real difference to load distribution. Our article on how flat washers improve load distribution explains the principle, and our DIN 125 stainless steel plain washers are one option for keeping the contact face clean and stable.
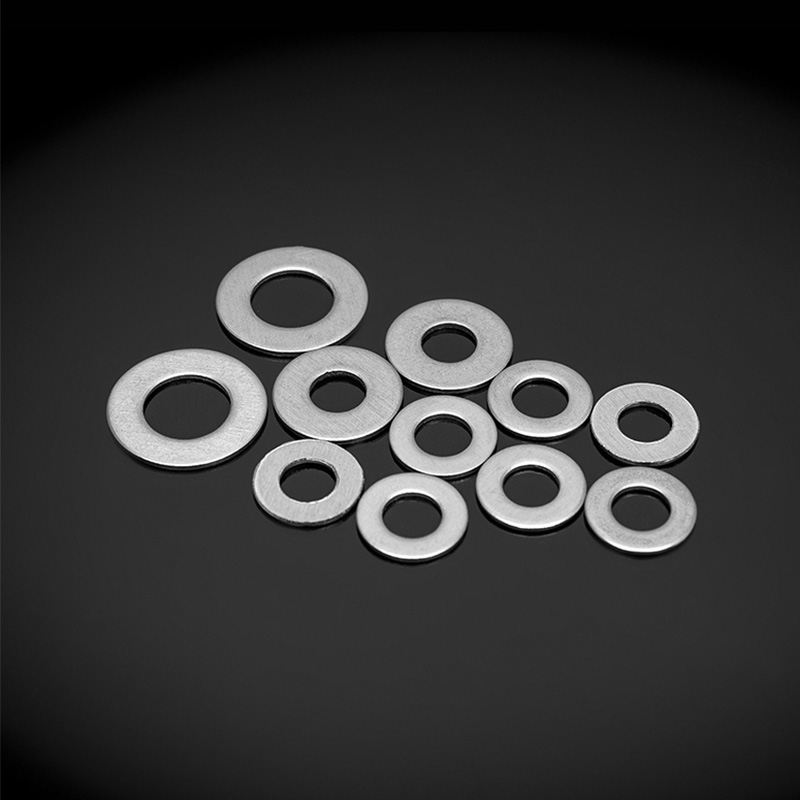 DIN 125 Stainless Steel Plain WashersFlat stainless steel washers that spread load and protect contact faces in ordinary mechanical connections, with nominal diameters from Φ1.6 to Φ36.View Product →
There is no single universal direction. The goal is to prevent withdrawal and avoid snagging. One tine over the end and one down the side is a practical default. Follow the equipment manufacturer's instruction where one is given.
No. Replace it after removal. A used pin has already been bent, and straightening it can introduce cracks or reduce its locking ability.
A loose fit means the hole is worn or the pin is undersized. Do not simply fit a larger pin. Inspect the component and repair or replace it as needed.
Using a cotter pin well comes down to fit, bend, and check. Choose a pin that matches the hole, insert it fully, bend the tines so the pin cannot withdraw, and replace it whenever it has been disturbed. It is a small part, but it earns its place in the assembly. If you are building stainless joints and want the surrounding nuts, washers, and bolts to match the same standard, our team is always glad to talk through the details.
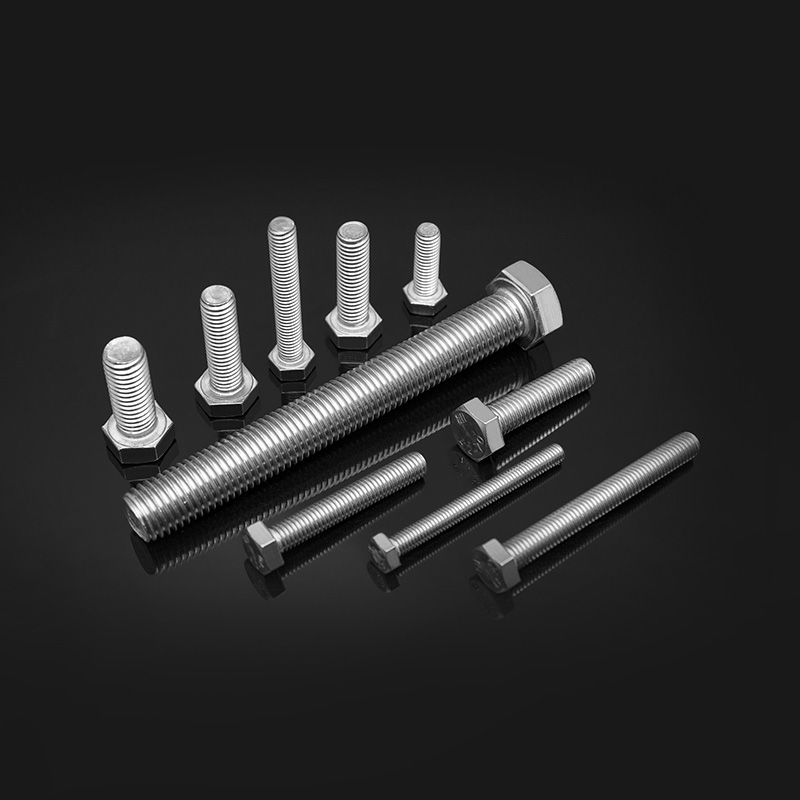
ThreadTolerance: 6gstandardDIN 13-15、DIN 13-12Rod diameter dd≤M20:A2-70、A4-70;M20<d≤M39:A2-50、A4-50;d≥M39:C3、C4;d<M39
See Details
Copyright © Jiangsu Huajie Stainless Steel Products Co., Ltd. All Rights Reserved.