English
 русский
 Deutsch
 عربى
عربى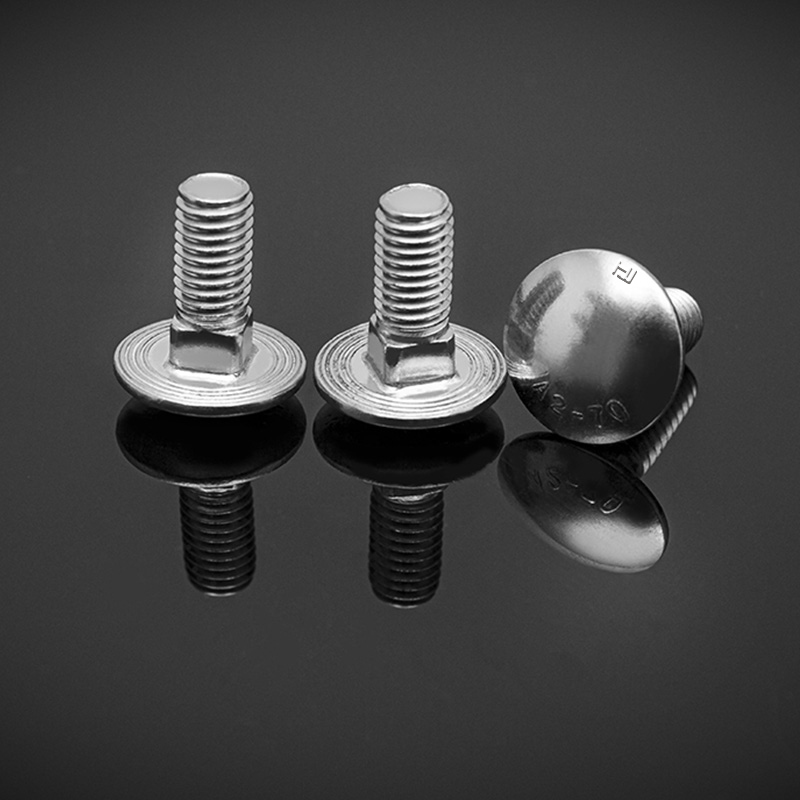
+86 189 6101 2359
+86 133 6521 5663
+86 138 5268 6835
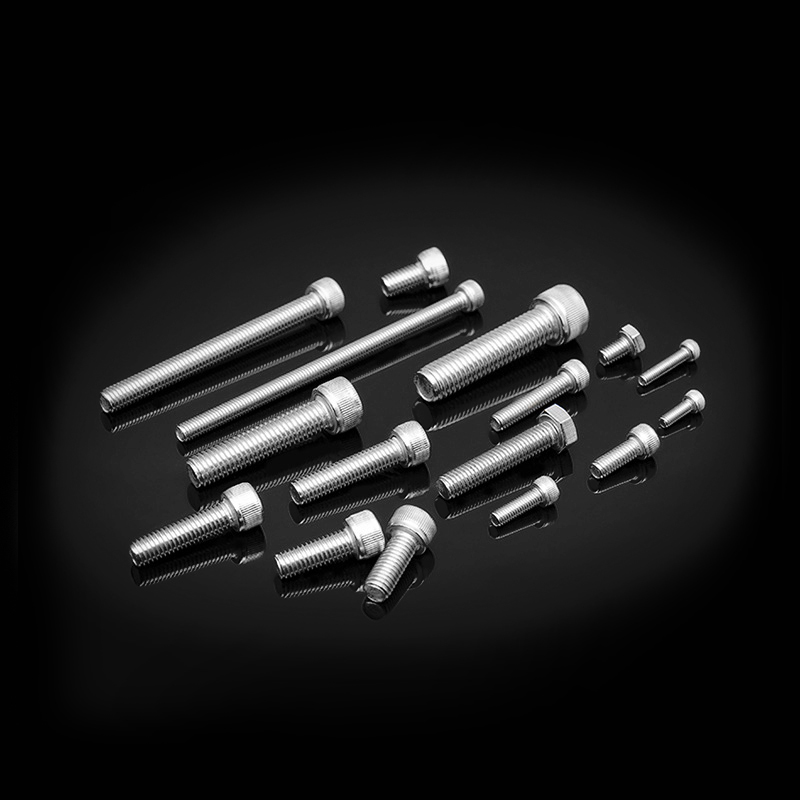
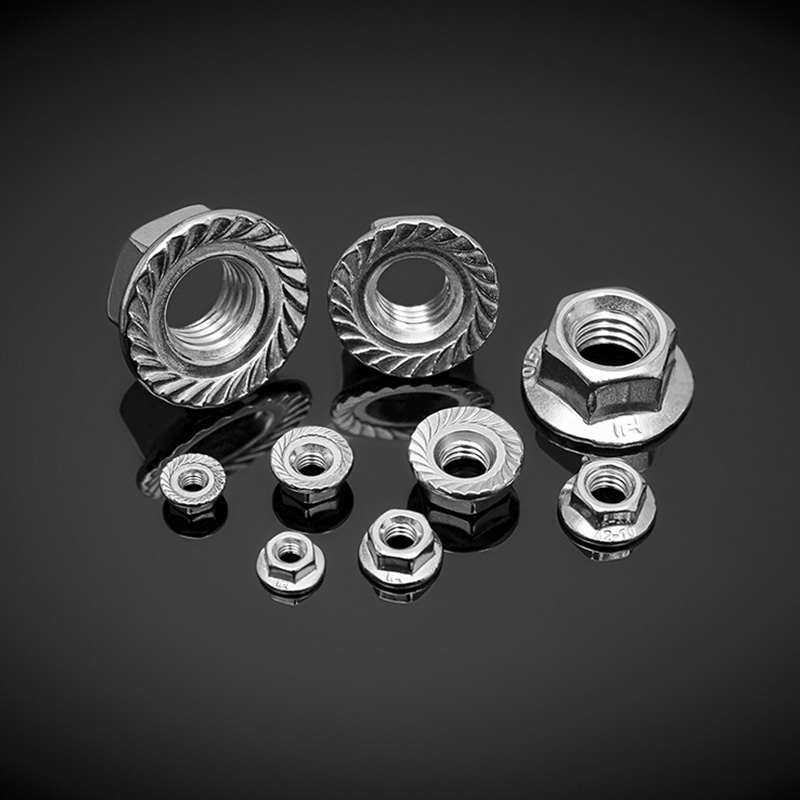
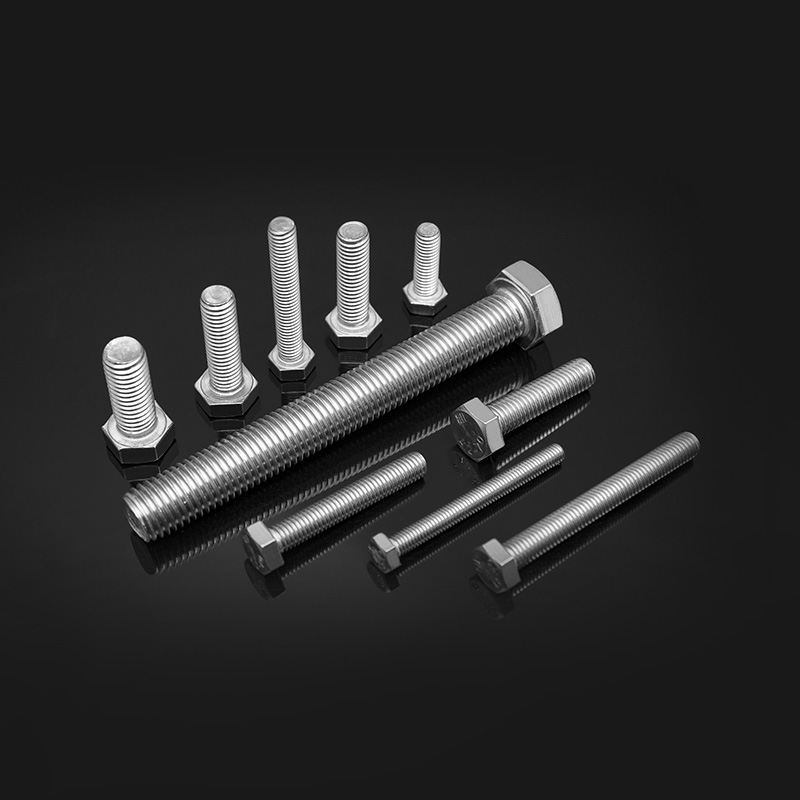
Stainless steel hexagon flange nuts are widely used in automotive, machinery, and structural applications because their integrated flange eliminates the need for a separate washer while distributing clamping force evenly across the mounting surface. Despite their simple appearance, proper installation requires attention to detail, since incorrect torque, misalignment, or skipped preparation steps can compromise joint integrity over time. This article walks through the practical steps for installing stainless steel hexagon flange nuts correctly, along with common mistakes to avoid and maintenance considerations for long-term reliability.
Content
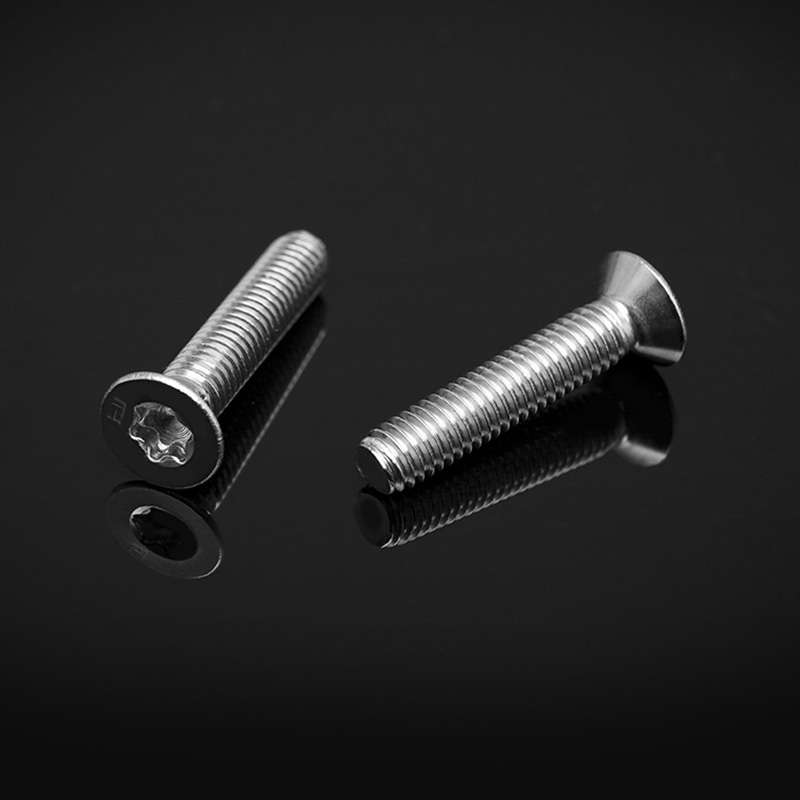
A hexagon flange nut features a wide, flat flange built directly into its base, which serves the same function as a separate washer by spreading the clamping load over a larger surface area. This design reduces the risk of the nut digging into softer materials and helps prevent loosening caused by vibration, since the flange surface increases friction against the mounting surface compared to a standard hex nut used alone.
Stainless steel construction adds corrosion resistance, making these nuts particularly well suited for outdoor equipment, marine applications, food processing machinery, and any environment where exposure to moisture or chemicals could otherwise lead to rust and eventual fastener failure. Understanding these design characteristics helps explain why proper installation technique matters just as much as material selection.
Having the right tools on hand before beginning installation helps ensure the process goes smoothly and reduces the risk of damaging the nut, bolt, or mounting surface. The following items are typically needed for a standard installation.
Following a consistent installation sequence helps ensure the flange nut seats properly and achieves the intended clamping force without damaging the threads or surrounding components.
Before installation, inspect the bolt threads and mounting surface for dirt, rust, or damage that could interfere with proper seating. Clean threads ensure the nut can be turned smoothly without binding, and a clean mounting surface allows the flange to make full, even contact once tightened.
Stainless steel fasteners are particularly prone to a phenomenon called galling, where friction during tightening causes the threads to weld together at a microscopic level, potentially seizing the nut permanently onto the bolt. Applying a thin layer of anti-seize compound to the bolt threads before installation significantly reduces this risk, especially in stainless-to-stainless applications.
Start threading the flange nut onto the bolt by hand for the first several turns. This confirms the threads are properly aligned and not cross-threaded before applying mechanical force with a wrench or socket, which can mask cross-threading until significant damage has already occurred.
Using a calibrated torque wrench, tighten the nut to the manufacturer's specified torque value for the fastener size and application. Overtightening can strip threads or cause the flange to deform, while undertightening may allow the joint to loosen under vibration or load, so following the correct torque specification is critical for long-term joint reliability.
While exact torque specifications vary by application, material grade, and whether lubrication is used, the following table provides general reference ranges for common stainless steel hexagon flange nut sizes under standard dry conditions.
| Nut Size | Approximate Torque Range | Typical Application |
| M6 | 5-8 Nm | Light equipment panels, brackets |
| M8 | 12-18 Nm | General machinery assembly |
| M10 | 24-35 Nm | Structural framing, automotive mounts |
| M12 | 40-55 Nm | Heavy machinery, load-bearing joints |
Always consult the specific manufacturer's torque chart or engineering specification for the exact application, since these values can vary based on bolt grade, lubrication condition, and the materials being joined.
Even experienced installers can run into avoidable problems if certain details are overlooked during the installation process. Being aware of these common mistakes helps ensure a secure, long-lasting connection.
Once installed, periodic inspection helps confirm that flange nuts remain properly tightened, particularly in applications subject to vibration, thermal cycling, or frequent load changes. Checking torque values during scheduled maintenance intervals can catch gradual loosening before it leads to joint failure or component movement.
Visually inspecting the flange surface for signs of corrosion, even on stainless steel components, is also worthwhile in harsh environments, since surface contamination or galvanic corrosion from contact with dissimilar metals can occur under certain conditions. Addressing these issues early helps maintain the long-term reliability that stainless steel flange nuts are chosen for in the first place.
Installing a stainless steel hexagon flange nut correctly involves more than simply turning it onto a bolt until it feels tight. Proper surface preparation, appropriate use of anti-seize compound, hand-threading to check alignment, and tightening to the correct torque specification all contribute to a secure, long-lasting connection. By following these steps and avoiding common installation mistakes, both DIY users and professional technicians can ensure their stainless steel flange nut installations perform reliably across demanding mechanical and environmental conditions.
ThreadTolerance: 6gstandardDIN 13-15、DIN 13-12Rod diameter dd≤M20:A2-70、A4-70;M20<d≤M39:A2-50、A4-50;d≥M39:C3、C4;d<M39
See DetailsCopyright © Jiangsu Huajie Stainless Steel Products Co., Ltd. All Rights Reserved.